Getting started
After you install Roxy you can be import demo content. Bellow links to documentation articles that will help you set up Roxy.
Support
Can’t find an answer or stuck on any of the docs? Email me and I’ll do my best to help.
Ask a question →
Recommended Plugins
Roxy is designed to work out-of-the-box and doesn’t force you to install any plugins.
Plugins listed below extend the functionality of your website but aren’t required.
Contact Form 7 — allows you to create contact forms that can be easily added to posts, pages, and widgets.
Regenerate Thumbnails — allows you to regenerate thumbnails for your image attachments. Very useful if you’ve changed thumbnail dimensions via Settings → Media or switched the theme.
Importing the Demo Data
Demo data is a collection of posts, pages, comments, and images that you can import to your website and use as a starting point for your own content or study and delete after you feel comfortable working with the theme.
Unfortunately, WordPress doesn’t provide a one-click solution for importing all data from one site to another. There is no way to import Widgets and Customizer settings natively.
We’ll use third-party plugins to do it. But don’t worry, these plugins are trusted among the community, very easy to use, and completely free. And you can safely delete them, once finished importing the data.
Required Plugins
WordPress Importer — for importing the content
Widget Importer & Exporter — for importing Widget settings
Customizer Export/Import — for importing Customizer settings
or use plugin One Click Demo Import - which will import all these 3 settings(content,customizer settings, widgets)
Demo Data Files
You can either download the demo data from the theme page or unzip the roxy-package-X.X.X.zip file. There will be a subfolder called roxy-demo-data with three files in it:
roxy-widgets-X.X.X.wie — contains widget settings.
roxy-customizer-X.X.X.dat — contains Customizer settings.
roxy-data-X.X.X.xml — contains posts, pages, images etc.
Note: X.X.X stands for the current version of the file. It may be 1.0.0 or 1.5.1 or something similar.
Importing the Content
Make sure that Contact Form 7 is installed before you import the demo data. Otherwise, the contact form will not be imported.
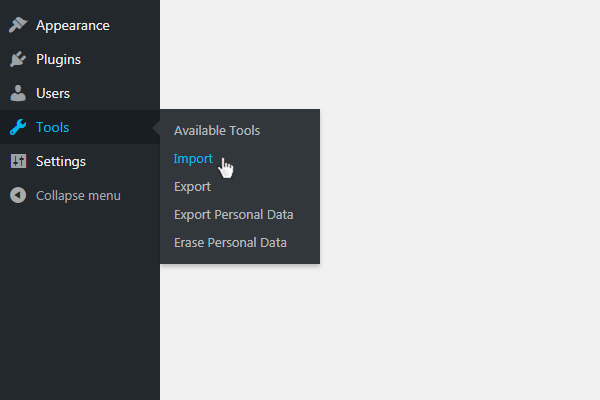
Step 1. In the Dashboard navigate to Tools → Import.
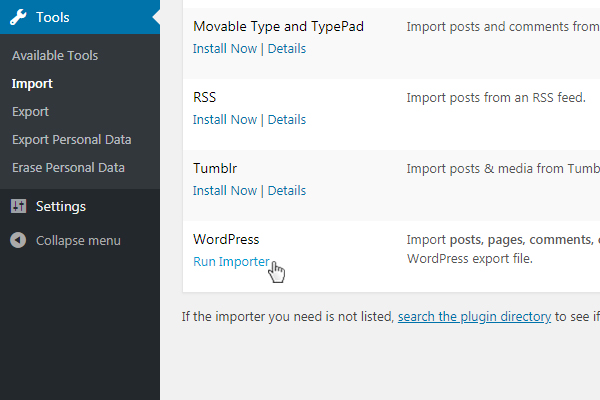
Step 2. Click Run Importer under the WordPress option.
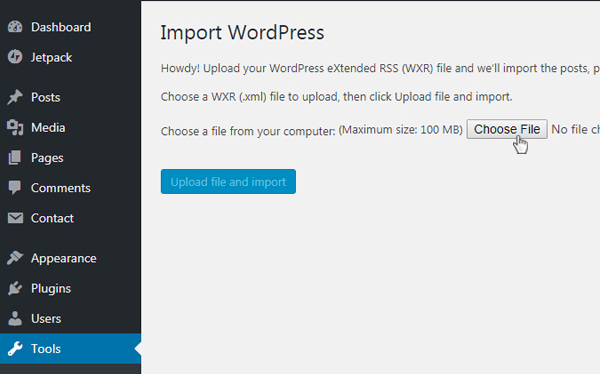
Step 3. In the opened screen click Choose File, locate roxy-data-X.X.X.xml on your computer and click Upload file and import.
Step 4. Assign all posts to your user, check the box to download file attachments and click Submit.
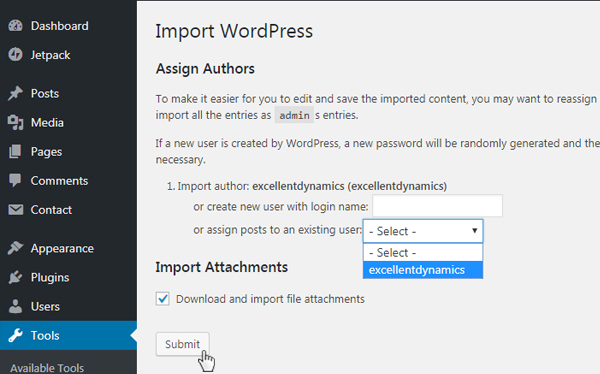
After importing process finishes you’ll see a message that looks something like this:
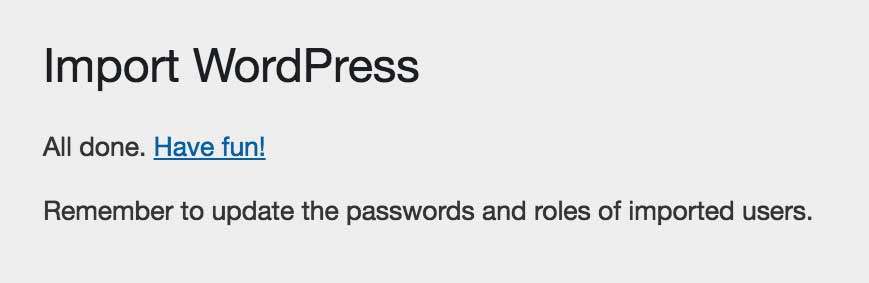
Importing Widgets
Step 1. In the Dashboard navigate to Tools → Widget Importer & Exporter.
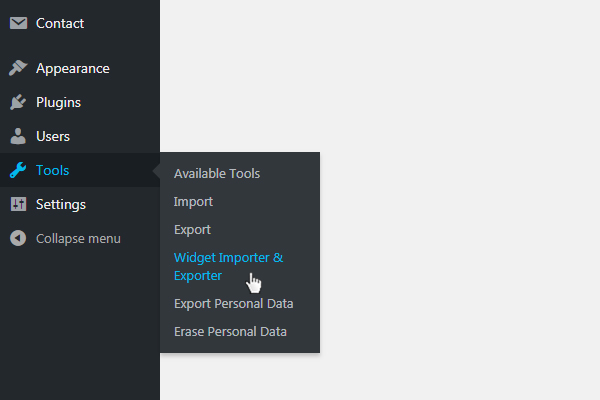
Step 2. In the opened screen click Choose File, locate roxy-widgets-X.X.X.wie and click Import Widgets.
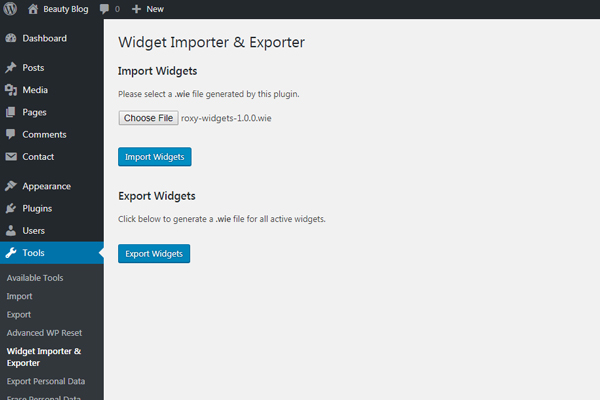
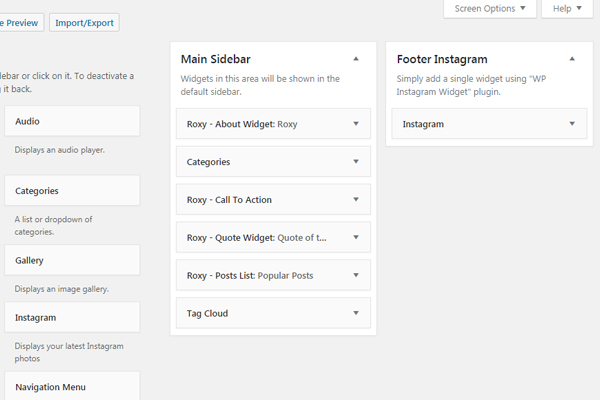
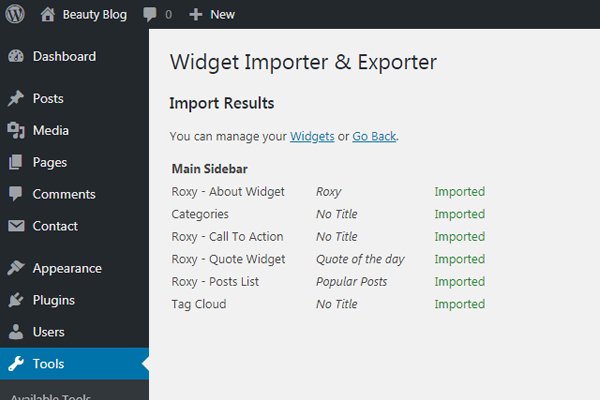
After importing process finishes, you’ll see a screen with a list of widgets that were added to your website.
Importing Customizer Settings
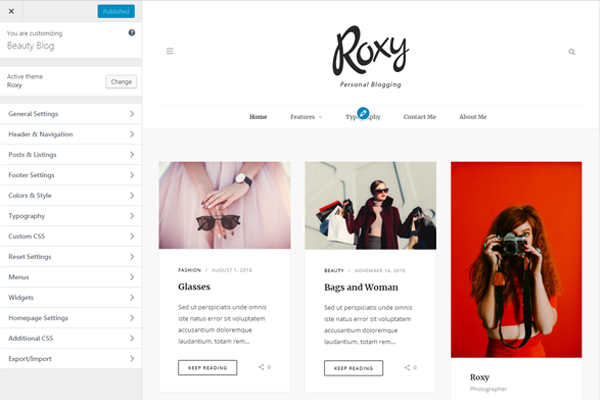
Step 1. Open the Customizer and click on the Export/Import section
Step 2. In the opened panel click Choose File, locate the roxy-customizer-X.X.X.dat file and click Import. Don’t check the checkbox to download and import images because they were already imported with the basic content.
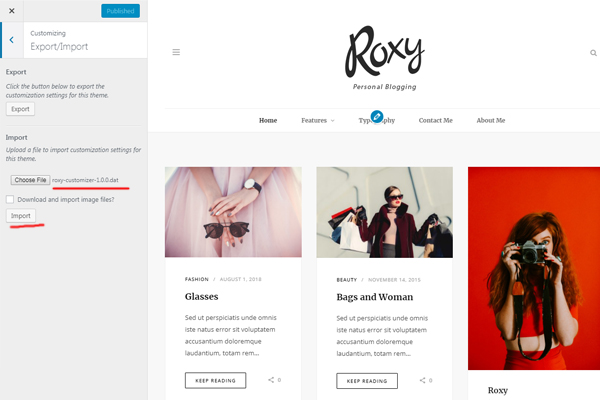
Once you click Import, Customizer will reload and update the settings.
That’s it. You have successfully imported the demo data.
Setting the Static Front Page
The Front Page in Roxy is created with a special template that pulls content for each panel from other pages that you choose.
Front Page
To create a front page like the one you see in the demo, you first need to create and set a static front page.
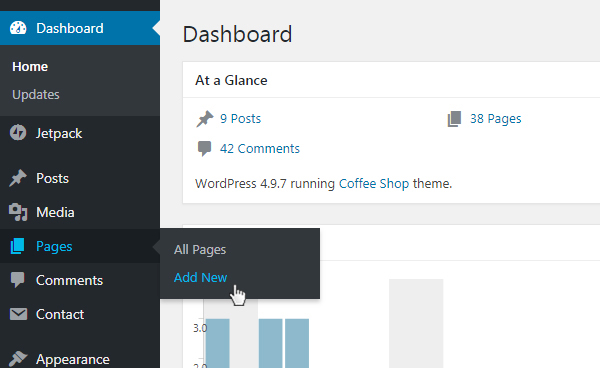
Step 1. Add a new page by clicking on Pages → Add New
Step 2. Add the title, content, and permalink.
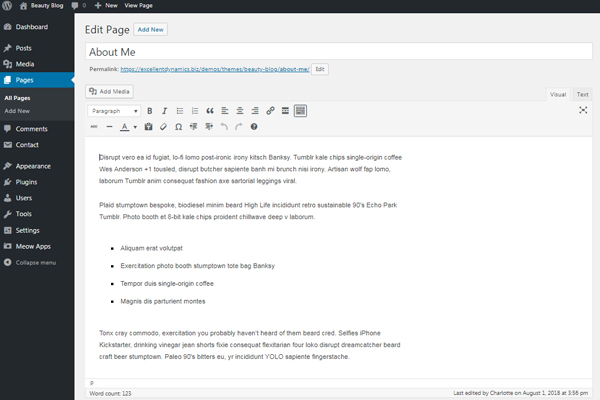
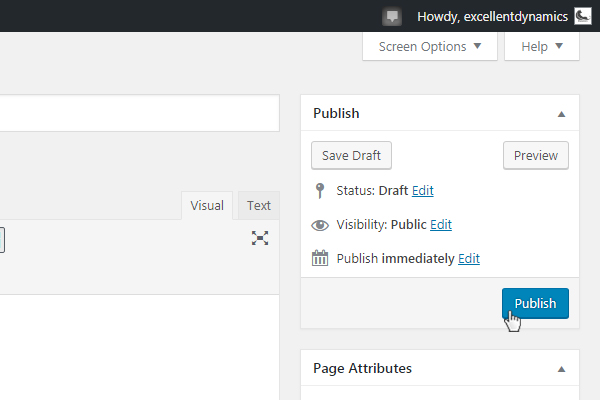
Step 3. When done, publish the page.
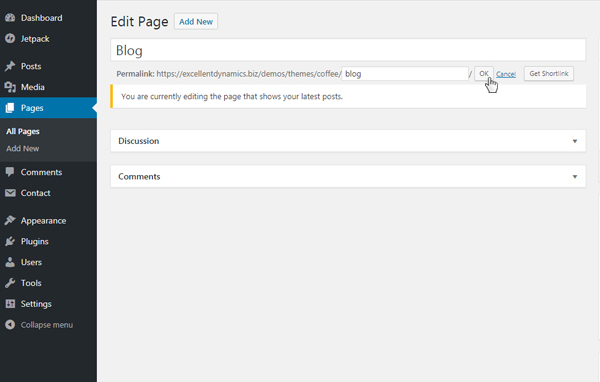
Step 4. If you plan to have a blog on your website, create another empty page called Blog and publish it as well.
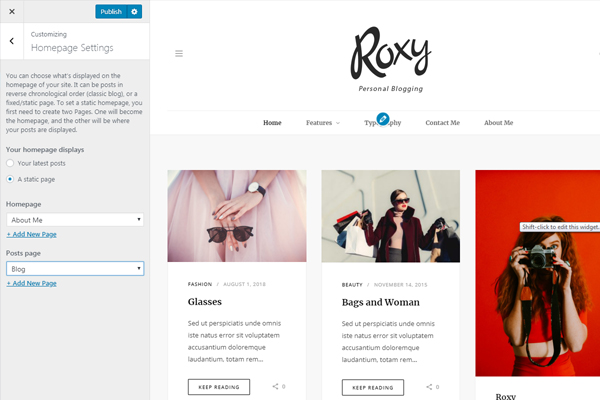
Step 5. Open the Customizer, navigate to Static Front Page and choose the page we’ve just created in the Front Page select box and the Blog Page in the Posts Page and click Save & Publish.
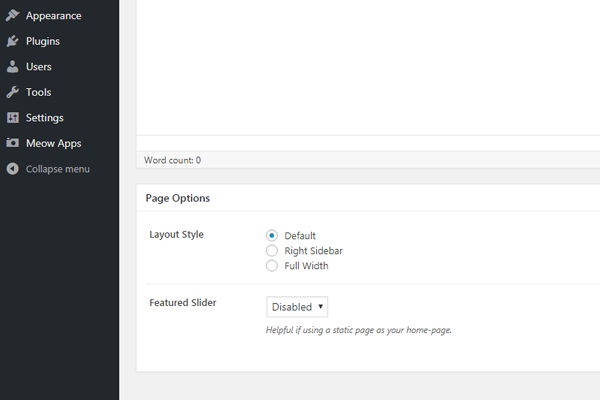
Page Layout
Roxy supports three page layout:
- Default template displays as specified in the Customizer.
- Right Sidebar template displays content with sidebar.
- Full Width template disables the sidebar and uses the full width of the site for content.
You can select the template for a page using the check boxes in the Page Options in the screenshot below.
Widget Locations
Roxy supports two widget locations. One in the sidebar and one in the footer: